Making A DIY PIC16F628A LC Meter With Existing Code and PCB

A LC meter is needed where, we make a custom winding of and inductor. Likewise in some applications we need to measure the capacitance of any multi-layer PCB.

Some LCR meter available both in domestic and on-line stores. However, an open-source DIY LC meter has done by an author a few decade ago.

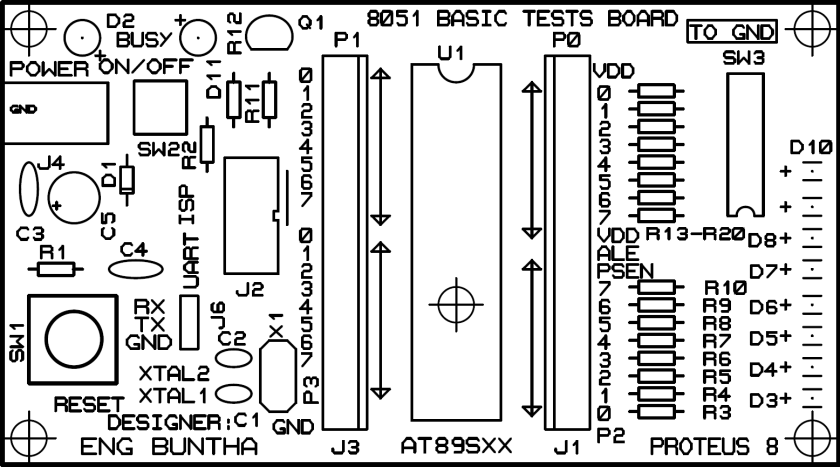
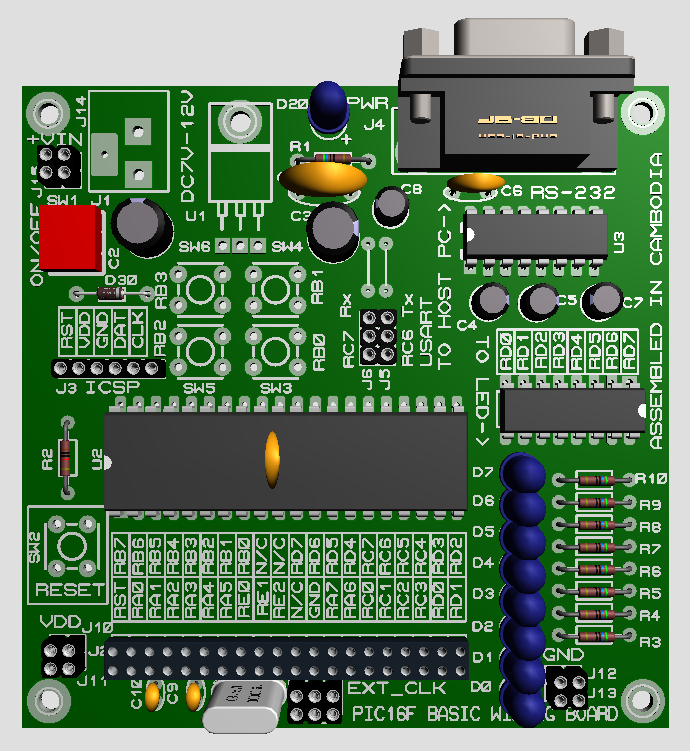
I decide to custom my own LC meter with available component I stocked. However, I modified only the PCB pattern an components placement. Both schematic and firmware still original.

For more information click here.

A DIY LC meter was popular many years ago. It requires only a PIC16F84A or PIC16F628A micro-controller with a dozen of components. The total budget is under 10 US Dollars. This LC meter was done by a university professor. It's free and open source.
My DIY LC meter I have assembled. It’s measuring a toriod displaying 497.3 uH. It’s powered by  a PIC16F628A CPU.

Using Xilinx JTAG cable as an ISP for ATMEL microcontrollers

I have a Xilinx parallel port used for CPLD that I have made before https://hangcafe.wordpress.com/2018/05/10/a-simplified-xilinx-parallel-jtag-cable/

I saw an ISP project on the internet. It can use custom pin on parallel port. So I decided to use my cable as an ISP for ATMEL device such as AT89S51/52.

https://sourceforge.net/projects/ispprogrammer/

I use 74HC125 as a buffer to drive low signal from parallel cable.

sch
Programmer board schematic

PCB artwork:

Source:

https://github.com/BongPeav/Proteus-PCB-Design-files/raw/master/Xilinx_JTAG_AS_ISP.rar

I press on setup button and change the pins selection as below:

isp progammer pinout
I change the pins the same to my Xilinx JTAG cable

Photo galleries:

Making a dsPIC30F3011 prototyping board

I have a dsPIC30F3011 bought from taobao many years ago. Anytime I prototype I need to wiring it on the breadboard consuming more time, and having a risk of burning it if It’s wrongly wired.

I made a small prototyping board for my personal use, consist of some basic components shown below.

sch
Schematic of dsPIC30F3011 designed using Proteus 8

This board consists of:

  • A +5V regulated DC supply
  • Female header pin connector for dsPIC30F3011
  • Two POTs for reading analog voltage input
  • A select-able crystal
  • A reset button
  • Two tactile switches for external interrupt
  • 6-bit output LEDs and a DIP switch.

PCB artwork:

copper

silk

source:

https://github.com/BongPeav/Proteus-PCB-Design-files/raw/master/dsPIC30f3011_Basic_Board.rar

Photo galleries:

20180510_09442220180510_094433

This simple PCB can be made by hands, or even using a professional PCB manufacturer with low price.

The XC16 is a C compiler for 16-bit PIC devices. It has a free limited version that is available for download and install. It requires the MPLAB X IDE.

I/O Port

LCD

Analog to Digital Converter

Making a 8051 basic test board using AT89S52

The 8051 microcontroller have been using for along time ago. ATMEL 8051 is a popular 8051 architecture compare to its original vendor Intel. The AT89S52 is a flash ISP version with ease of use.

I made a basic test board for this device with low component counts. This prototyping board contains:

  1. On board +5V regulated DC supply
  2. Header for output side device interfacing
  3. Clock and reset circuit
  4. ICSP header to fit usbasp USB programmer
  5. DIP switch and LED

sch

PCB artworks:

copper

silk

source:

https://github.com/BongPeav/Proteus-PCB-Design-files/raw/master/AT89Sxx%20Test%20BOARD_V2.rar

Photo Galleries:

This slideshow requires JavaScript.

This board have been using for my own prototyping at my electronic workshop. I shared this PCB project in the PCB service website.

Making a PIC16 learning board

Prototyping board has many advantage. First we reduce the prototyping time that normally work on breadboard. Second it can protect our device from the mistake during installation.

There are many prototyping board available world wide. Locally in Cambodia it’s difficult to find those things in domestic market. So I decide to make my own board at free time.

Untitled
PIC16F887 Basic Wiring Board

The board consist of :

  • +5V regulated power supply module,
  • male header pins, 8-bit LEDs output from PORTD with DIP switch,
  • a 6-pin ICSP connector,
  • select-able crystal,
  • and a RS-232 tranceiver

16F887_Basic_Wiring_pcb
Copper Layer

silk
Top silk layer

3d
3D Visualization of PCB

complete project archive:

https://github.com/BongPeav/Proteus-PCB-Design-files/raw/master/16F887_Basic_Wiring.rar

Photo gallery:

This slideshow requires JavaScript.